How To Use CapCut | Basic Guidelines Of CapCut Pro
CapCut is a video editor that is available for Android, iOS, and Windows. We will learn all CapCut Pro APK basics to advance techniques. If you are a newbie and want to start your video editing career, I recommend starting with CapCut. Here is why I recommend it: the CapCup interface is friendly compared to other video editing tools and many factors are much better in this.
User Guidelines Of CapCut Pro
CapCut is a very easy-to-use video editor for both newbie and advanced users just first check your CapCut version if you have installed the old version then you can download the latest version of CapCut to the Play Store and App Store but if you want to use mod APK then click here download it.
User Interface
These are important tools of CapCut APK.
When you open the CapCut you see this screen. Here you can see these tools on the top bar.
- Photo Editor
- Camera
- AutoCut
- Product Photos
- Ai Poster
- Ai Model
- Text to Image
- Retouch
- Auto Caption
- Teleprompter
- Remove Background
- Image Enhancement
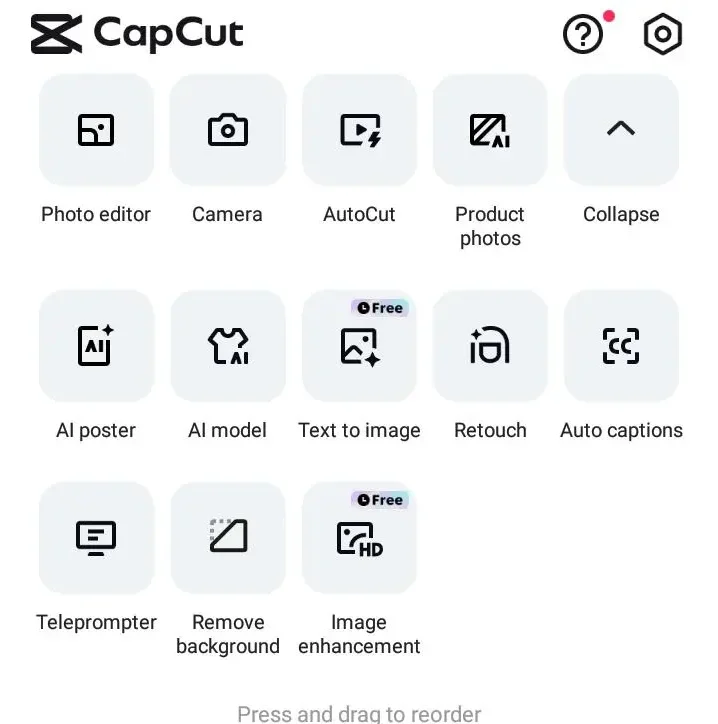
These are basic features of this video editor and after these here is the important Button called New Project. When you do add your projects then you can click on it and add your project files like Photos and Videos.
New Project
After Click On “New Project” open this screen there you can see your all media files simply if you want to edit photos so click the Photos tab and if you want to edit your videos then click on the Videos tab and you can add multiple videos or photos. In this Screenshot, I select a video after selecting click on the Add button.

Video And GIF
Now open your project and you can see this screen. On the top bar, you have A cross mark to close your project, a Video and GIF button that helps to set video resolutions and if you want to create a GIF then you can set your GIF file.
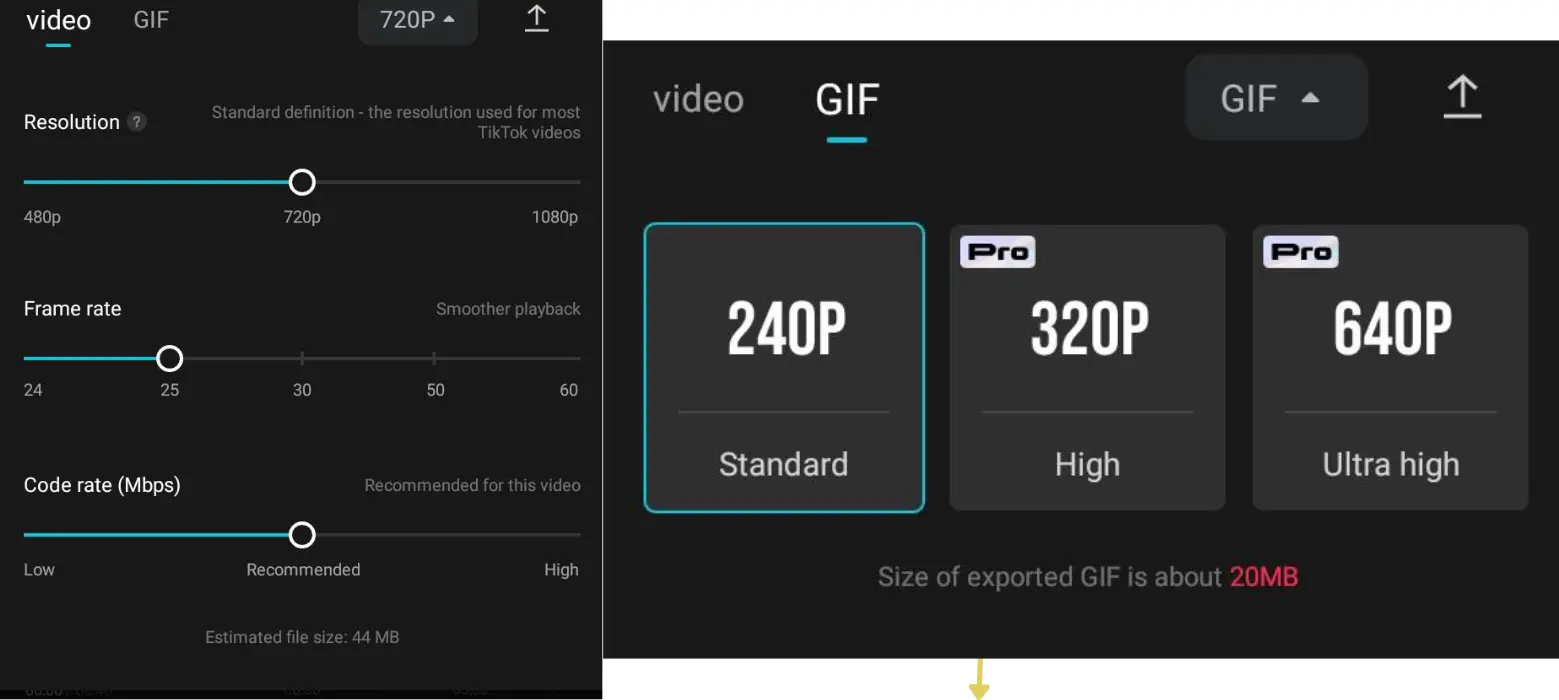
In the middle section show your project in this tutorial. I opened the video So you can see the video and your option if you want to play your project simply click on the play button.
Timeline
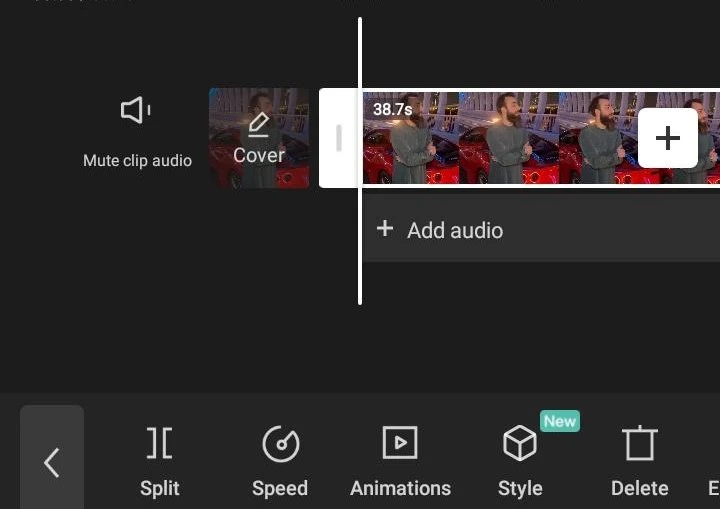
This is a very important tab Timeline when you add any effects, transitions, and anything that all effects and transitions show here.
The bottom bar shows all the features of the CapCut Pro APK when you click on the project then shows all the features of your video or photo I explain in these Screenshots here.
Export
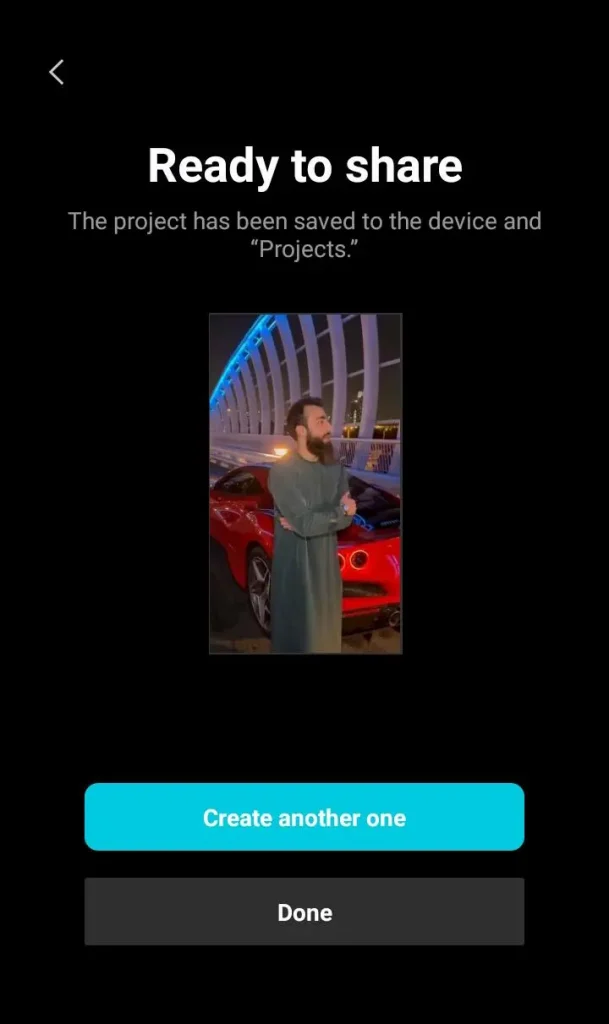
All features you can use easily simply click on the feature and add it to your video project. After completing your editing simply click on the “Export” button and save in your gallery. These are the very basic guidelines of the CapCut video editor but if you want to edit your video like a professional then you can click here. I have already discussed all the tips and tricks of video editing.
Conclusion
I hope now you understand all the basic things of the CapCut Pro because I have discussed in very easy words and explained all the basic features. If you are confused so don’t worry you can send your query. If you like this valuable content then must share it with your friends. Thank You
